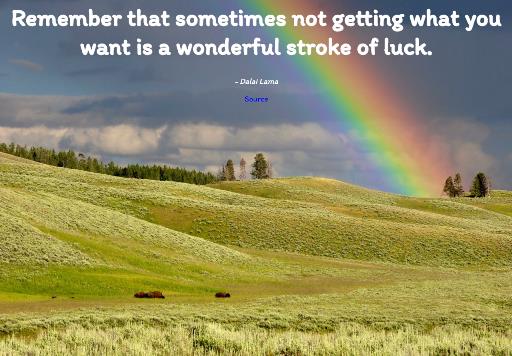
To practice, you’re going to make something like this quote graphic .
Steps:
1. Pick a quote
- You can use same one from our Wall of Inspiration or something else
2. Pick a background image
- From Pexels , Unsplash , Pixabay , or Bing ONLY. Pay attention to HOW LARGE YOUR IMAGE IS– on Pexels you can choose a size; Unsplash and Pixabay will give you very large files and Bing.com is a mixed bag. You can use any size image you want and IT IS UP TO YOU HOW TO POSITION YOUR BACKGROUND IMAGE. We looked at the background-position and background-repeat properties and values- you can decide what to do. For example, if your image is large, you will want to center it and not repeat it. If your image is small, you might want to position it differently and you will need to choose a background color for your page that looks good with the image. Download and save your image in your folder or desktop. Make sure you give it a simple, one word name.
3. Start a new page in Notepad++
- Open Notepad++ and start a new webpage by adding opening and closing html, head, title, style, and body tags. Save this page as quote.html IN THE SAME PLACE YOU SAVED YOUR PHOTO.
4. Add your quote inside headline tags
- Type or copy and paste your quote in your body section in h1 (headline) code. Code example here. .
5. Add the name of the person who said your quote
- Type the name of the person who said your quote below your quote, even if it’s you. Put the name in paragraph or em (italics) tags.
6. Add a link to the source of your quote
- Copy and paste a link to the webpage where you got your quote. The visible text that is “clickable” should say Source (like in my example here ). This link should open in a new window. If you don’t remember how to add a link, look at one of your past projects or see here . Put your link inside paragraph tags or add some line breaks between your link and the quote author above it. If you said your quote, then still do this but use a “dumby” link like the one we made the other day using a # as the link source.
7. Style your quote text
- Let’s style your quote first. We added it as a headline. Type h1 inside your style tags and then a curly bracket (next to letter P on your keyboard, hit shift key). Type font-size: 60px; (you can change that value if you want). Then type color: purple; and go here to choose a color (don’t keep it purple!). Finally, center your quote by adding text-align: center;. See this example for help and don’t forget to end each line with a semi-colon ;
8. Add a text-shadow
- Now add a text-shadow to your h1 so your quote stands out more. Add the code like you see here and change the color of the shadow and the size values.
9. Style your body section
- It’s time to style our body section. Type body in your style sheet above your h1, then add a curly bracket. Let’s add a background color by typing background-color: #cccccc; and make sure you change that gray color to something else. Now let’s make sure the font color will match our headline by typing color: #somevalue; (make sure the color is the same as your h1). This step will ensure that your link and quote author text will be the same color as your headline. You can also make them a different color if you want. Make sure to add font-size: 20px; (you can change this value) or else the browser will just make it some size. Also add text-align: center; so the link and quote author text line up with the quote.
10. Add a Google Font
- Let’s add a much more exciting font! First, go here and check out the different fonts. When you find one you like, click the plus sign in the red circle. Then, click on Family Selected at the bottom of the webpage. Copy and paste the link href code in your head section below your title tag. Then, copy and paste the font-family declaration in your body section in your style sheet. See this example.
11. Add your background image
- First, see how large your image is (right click on it, and select properties, or the width and height might just show up when you open your folder and look at the image). Make sure your image is no wider than 1500 pixels. If it is, go to Pixlr.com , resize it, and save it to your folder. Make sure you give it a simple, one word name. Now, add this code to your body section in your style sheet. Change the image name to your own.
12. Style your link
- Grab the code from here , paste it below your h1 in your style sheet, and change the colors . Also add text-decoration: underline; for a:hover.
13. Extra credit
- Try adding a negative value to your text-shadow. What happens? There is a mistake in the code of the example I gave you. What is it?
14. What to do when you’re “done”
- Review your page:
Did you follow all of the steps?
Is your text centered?
Did you use a Google Font?
Did you change the text size and text color?
Did you use a text shadow Do the size and color of the shadow help your text standout more against the background image?
Does your background image go along with your quote?
If you used a background color, does it look good with your background image?
Did you take time and care in downloading what size you want for a background image and in positioning the image on your page?
Is your text large enough or does it seem too small for the background image?
Did you style your link?
Did you add a link (fake one) even if you’re the one who said your quote?
Can you read all of your text? ALL of it- if you can’t, you might need to change its size, change its color, or change the color/size of the text shadow. You might also need to change your background image if you can’t read all of your text easily.
IF YOU CAN’T ANSWER YES TO ALL OF THESE QUESTIONS, YOU WILL NEED TO GO BACK AND FIX YOUR PAGE!