I won’t be here this morning and you will have a substitute teacher.
You will do the following CSS3 tutorial either on your own or working with a partner.
Try your best to follow it step by step and simply copy and paste the code into the correct spots.
Here is the tutorial (make sure you do this in Firefox or Chrome!):
http://line25.com/tutorials/how-to-create-a-pure-css-polaroid-photo-gallery
This year you learned about CSS and used it to create internal and external style sheets. You practiced using CSS to style things like headlines and text, and also used it to create page layouts.
Today you will review those skills again while also seeing some of the cool features of CSS3, the latest version of CSS.
This is what you are creating (end result):
http://line25.com/wp-content/uploads/2009/polaroid-gallery/demo/demo.html
Please download and save the following image files on your computer. Leave the names the same- 1, 2, 3, 4, 5, 6.
Just right click on each image and go to “Save file as.”


Click here to download the image background
When you get to it, here are the links you will need:
For photos 1, 2, 4, 5, 6
http://www.flickr.com/photos/claudio_ar/
For photo 3
http://www.flickr.com/photos/galego/3131005845/
To Begin:
Create a new folder, CSS3, somewhere on your computer (desktop, My Documents, wherever). This is where you will save all of your files- the images above, your HTML document, and your style sheet.
Create a new folder in this folder and call it Images. Move the photos you just downloaded to this folder.
*The tutorial assumes you will put your photos in a folder called images. If you don’t want to do this, simply delete images/ everywhere you see it in the code and just use the image name.
1. Set up a new HTML document in Notepad or Notepad++.
Start with:
<html>
<head>
<title>CSS3 photo gallery</title>
</head>
<body>
<div id=”container”>
</div>
</body>
</html>
Save it as cssgallery.html
2. Set up a new style sheet in Notepad or Notepad++.
Start with:
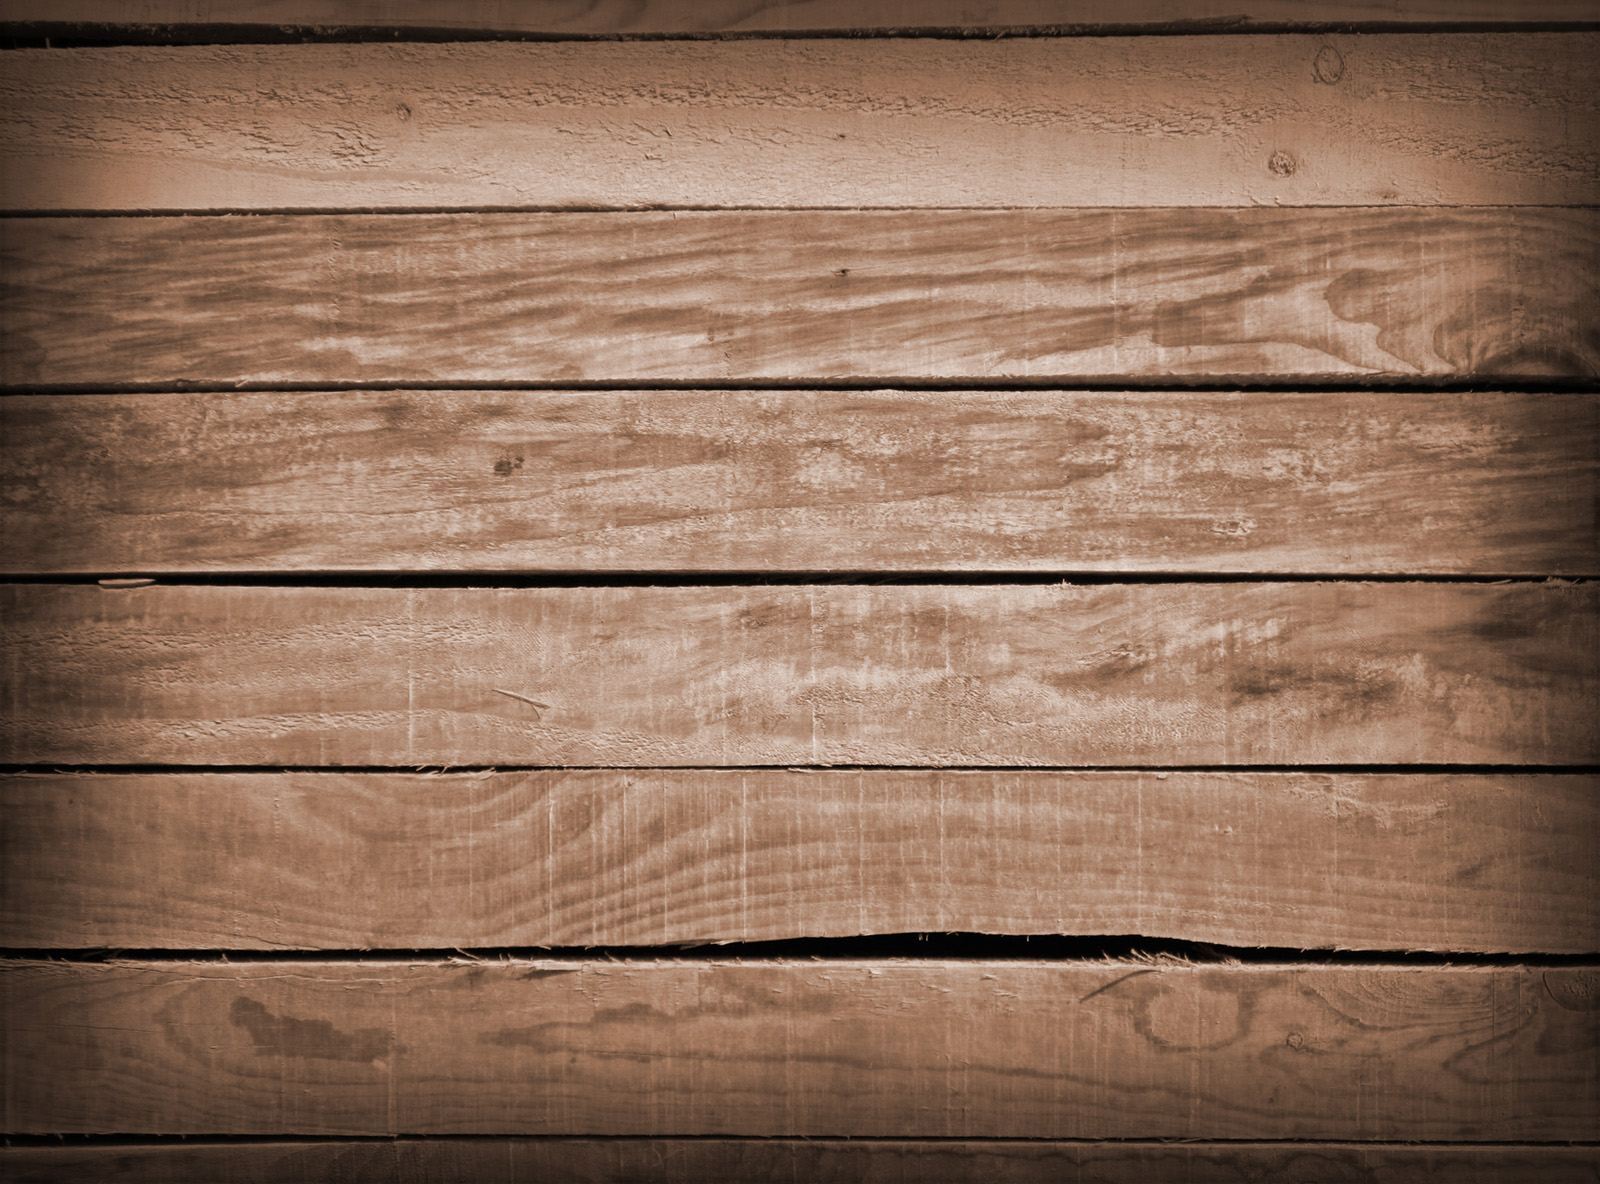
body {
background: #959796 url(images/wood-repeat.jpg);
}
#container {
width: 600px; margin: 40px auto;
}
Save this as stylesheet_css3.css
When you have your HTML page and your style sheet set up and ready to go, just follow along with the tutorial as best you can. Insert their code where indicated. Some code will go in your style sheet and some will go on the webpage in the HTML.
Try your best! Don’t be shy to ask someone in the class for help. We will review this on Friday.
Remember to save all of your files in the same location, that CSS3 folder you created!